Sunday, October 30, 2011

Contour Line Drawing

In preparation for an autobiographical comic strip project, 5th-8th graders at Coonley spent two weeks learning about and practicing the technique of contour line drawing. 


First we discussed the difference between a contour line drawing and an outline.  
Contour line drawings include lines that are both inside and outside of the forms we see.
We also discussed what it means to draw from observation. 
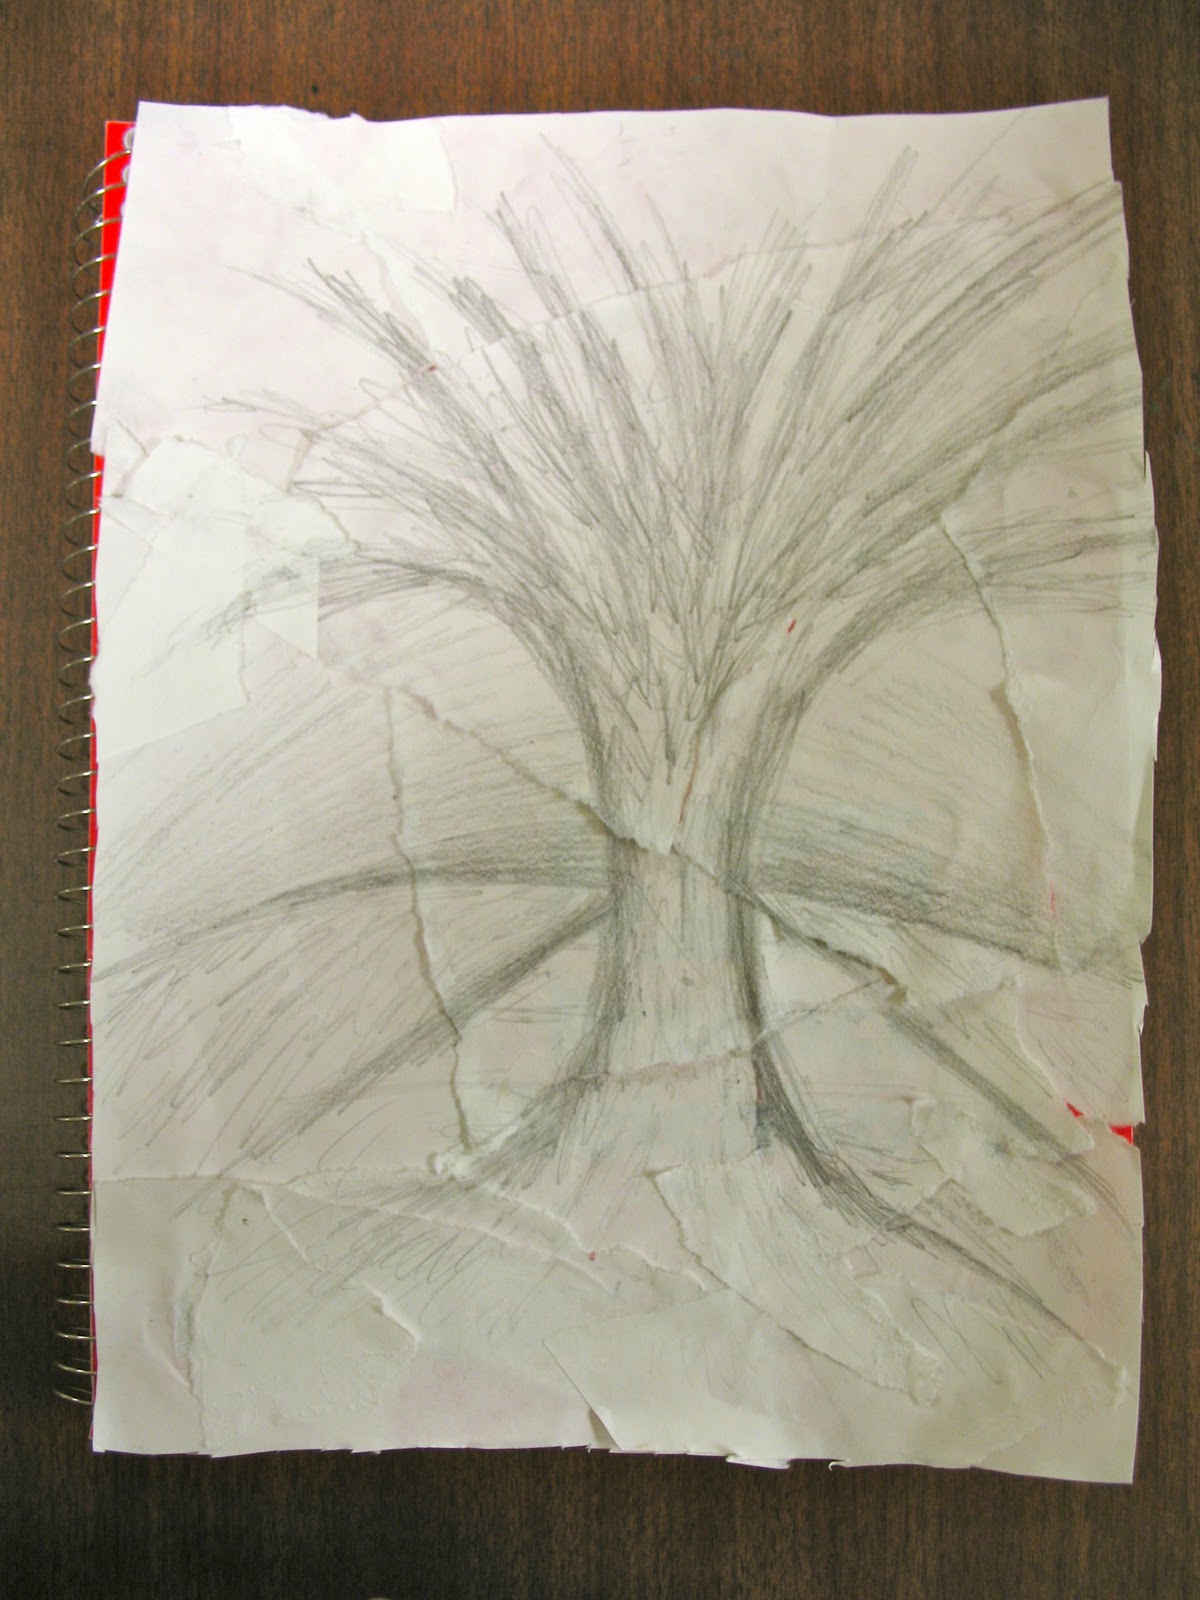
Next I demonstrated how to create a successful blind contour line drawing from observation.  When you create a blind contour line drawing, you DO NOT look at your paper.  Instead, you use a continuous line that takes you from one object to the next. You move your hand very slowly and record every detail and edge that you see.  You need to look closely in order to create a drawing that actually looks like what you are observing.


Blind Contour Line Drawing
Each table of students set up their own still life objects, and they practiced blind contour line drawing.  It was so hard to not look down at what we are drawing, and students struggled to move slowly and observe carefully.  It was also hard to try not caring about what our drawing looked like, since blind contour is not about the finished product, but rather about the act of looking closely at what you are seeing.  We did several timed blind contours in a row which was good practice for everyone.


Next, I demonstrated creating a contour line drawing of the still life objects. Students could now look at their paper periodically while drawing, in order to make sure their objects were placed on the page in a way that made sense.  I reminded the students nearly every second to look up almost all the time in order to draw what they are seeing, and not what they think they see (which are symbols of objects in our mind).  The more slowly students drew, and the less the more they observed their objects, the more realistic their drawings came out. 

Contour Line Drawing By Jenny


Some of the students are still struggling to create a successful drawing from observation, but here are some examples of students who were able to slow down and record what they see.

Organic Shapes Remind Us of Things


Over the last two weeks, the second and third graders and I 
have been comparing and contrasting organic and geometric shapes.  


 To begin, we talked about how shapes are made using lines. We talked about how geometric shapes are symmetrical and usually made with straight lines, and we compared geometric shapes to organic, which are not symmetrical, and are generally made with crazy, lumpy, curvy, and zig-zag lines that when combined together, 
remind of things in nature. 


In order to make our own organic shapes that are "shapes that don't have names", we played a game using different types of lines.  Each shape was made spontaneously, by students using a certain number of a specific type of line, combined with specific amounts other types of lines. 


The results were certifiably organic. 


Right before we began examining the shapes we made, we looked at this book by Lisa Campbell Ersnt.  In her book, she begins with the alphabet and examines each letter shape in different directions.  Each way you turn a letter, you see something different.  The students were really excited by her revelations, and were able to see what she saw in each letter.  Some of the students immediately began looking at their own organic shapes from every direction, such as the student above. 


Next, I had all the students cut out the organic shapes they had made, and look at them from different directions to decide what they could become.  Students then glued down their shapes onto paper, basing their placement upon what the shapes would become.  

 I then asked the students to add to their shapes suing drawing materials, as well as the background behind them, in order visually show others what they saw in each shape.  


I love this person, whose skirt and hat are made from organic shapes!
One shape has become a dog, and the other a flag.


One thing I like about this project, is that I believe it helps students think about drawing objects in different ways, other than their already traditional ways of representing objects.  I want students to realize that there are other ways they can describe something like a flag or a car beyond what they automatically draw.  K-4 students (and adults too) generally use something called a schema when they draw. A schema is a system or catalog of representation that students use to communicate and fall back on.  The catalogs evolve as students get older, but they generally draw things in the same way all the time.  I think schemas are important, but believe students should also be pushed to draw in new and different ways, both realistically, symbolically and figuratively. 

"I see a bird and this is a milkshake".


A mushroom garden and a clever bat appear in this drawing.

The Silhouetted Objects Challenge

In preparation for making shadow puppets, which rely heavily on shape to communicate story and a sense of character, I had students in the 3rd and 4th grade think more about shape.  As a one-day challenge, I showed them a projected silhouette of a stapler and a scissor, which they were immediately able to identify "because of their shape" and because they are familiar with these objects.
We talked briefly about the word silhouette.  I really like silhouettes because, as stated by the artist Beatrice Coron, the language of silhouettes is efficient and gets down to the essential (qualities of something).

Art by Beatrice Coron who works in cut paper!
I then demonstrated the challenge I wanted the students to take on during class time.  
Each table group was given a baggie of words naming different objects such as bird, lamps, swing, etc.  
The challenge was for students to be able to cut out a shape or multiple shapes that communicated their chosen word so that it could be recognized without using any lines whatsoever. 

This is a horse and a suitcase by third graders in 207.

Once they found a shape(s) that communicated their word, they cut it out and glued it onto a cardboard "flash card". 
Each class now has a set of flash cards which we will discuss and play with during the next class. 

Fork and Lamp

Television, Shirt and Cherry

During this "challenge", students had to visualize the objects in their mind, as well as to think symbolically and consider what is essential to recognizing a particular object as a shape in order to successfully communicate their word.  

"Donut", "Butterfly" and "Swing"
Some words were challenging even for adults, and students struggled to figure out just how to do it without using any describing lines. 


For instance, your really do need a cut hole to communicate a donut!


Many of the students were extremely successful at communicating their word in silhouette.  I often got chills when I looked at their flash cards, thinking, wow they really got it! 

"Basketball" and "Lamp"


"Helicopter" and "Socks"

Monday, October 17, 2011

Learning About Lines

Students in kindergarten and 1st grade last week learned about how there are many many kinds of lines in our visual world.  We talked about the definition of a line being "a dot that goes for a walk".  We read a book called Lines That Wiggle, which proved that just about anything you can think of can be described using lines. 


Students practiced making a variety of lines before they drew their picture.


Next the kindergarteners and 1st graders practiced creating six different kinds of lines.


Then on the other side of their paper, they used lines to make an image of their choice. Some students even used rulers to make super super straight lines in order to form things like houses.


Each artwork was filled with lines, and lines formed all the shapes we could think of.  
 We also tried to fill our whole page with descriptive details and colors, so that our viewers can see what the kindergarteners intend for them to see.

In order to make their art work, the students chose from a variety of drawing materials, which they accessed on their own within the
"drawing studio". 


"It's my birthday party and I'm going in a limo to a place called Lego Land."- Jackson

Monday, October 10, 2011

Collaging Sketchbook Covers

5th through 8th graders received sketchbooks at the beginning of the year that are theirs to use in art class. These sketchbooks are theirs to keep, and I encourage all of my students to take their books home and draw, write, collage and collect anything in them that they would like to. 
The students are responsible for bringing them back to class each week, and they get points for doing so towards their grade. 
It is my hope that this group of older students will become accustomed to working in their sketchbooks independently, and it will be a positive habit that they continue as adults.


The art room at Coonley is loosely organized into "studios", which are specific spaces in the art room where you can find the supplies needed to create that particular art form. I wanted the students to explore the collage studio, and learn what materials were available to them. 


We first discussed the word collage as a group, and I shared the meaning of the word in French, which is "to glue or to paste". We then looked at examples of collages by the artist Romare Bearden. Then students came up with a working definition of collage, and we briefly discussed why artists might choose to work in collage as their favorite medium. I taught everyone how to glue using brush-on Elmer's glue so that no glue drips would end up on the table.

Students gathered materials to use in a cover collage, and stored them in their sketchbook.

Next, the 5th-8th grades worked for two-three class periods on first collecting material that they wanted to use as their sketchbook cover, followed by collaging it onto their book so that their sketchbook was more unique and personal to who they are as an individual. 

Many students feel more comfortable drawing than collaging. This student, Jerry, chose to mediate that by creating a drawing of a familiar subject and then cutting it up and pasting it together again.


I will gather some more pictures of the collaged sketchbook covers soon.   The students only complaint that I heard was that we need more magazines that are  hip and filled with Justin Biber!


Exploring the Collage Studio

Students in kindergarten through eighth grade just finished their introduction to collage.  The art room at Coonley is loosely organized into "studios", which are specific spaces in the art room where you can find the supplies needed to create that particular art form. After using some drawing materials to create our pinwheels, I wanted the students to explore the collage studio.  


We first discussed the word collage as a group, and Ms. Chisholm shared the meaning of the word in French, which is "to glue or to paste". We then looked at examples of collages in story books and art by the artist Romare Bearden. Then students came up with a working definition of collage.  Ms. Chisholm taught everyone how to glue using both glue sticks and brush-on Elmer's glue so that no glue drips would end up on the table! Now we are ready to get to work!


The art room is comprised of "eight" work tables, each named after both a color and an artist. 
As their first inroad to collage exploration, students in K-4th grades worked in small groups to collage onto some table folders.  These folders will be used throughout the year as a way to further organize our artwork and works in progress, within each class' drawer.

How it worked is that students were challenged to go into both the collage studio and the drawing studio for seven minutes, and find all the things they could that were their table color.  It was a great time of controlled chaos and discovery, and the students enjoyed being able to open drawers and bins and find art supplies on their own.  

After seven minutes, each table member returned to their assigned seat and together, each group glued and pasted random pieces of their table color that they had found.  This included looking through magazines to find things that were their table color, as well as adhering assorted papers and tissue paper, and more. 


We spent two class periods working on these. Before the second work period began, we discussed the idea of good craftsmanship, which can be demonstrated by making sure all of your corners are glued down flat!


Here are some more images of the completed collages table folders. Even though there are no big ideas behind the imagery that was chosen, everyone got a feel for the collage studio and what items it contains.