Students in grades K-1 worked on sculptures made from recycled materials, throughout the month of March.
To begin the process, the kids an I looked at sculptures by several artists who work with recycled and found materials, and we discussed why an artist might want to use recycled materials. Specifically, we focused on the work of outsider artist Emery Blagdon, who makes very cool hanging works of art using the things he finds and has around.
Next, students envisioned what a toilet paper tube could become by taking turns using an overhead projector to draw on a transparency. This helped the ideas start flowing. As a final envisioning step, students drew up an individualized plan using pencil for how they wanted to transform their recycled form.


 |
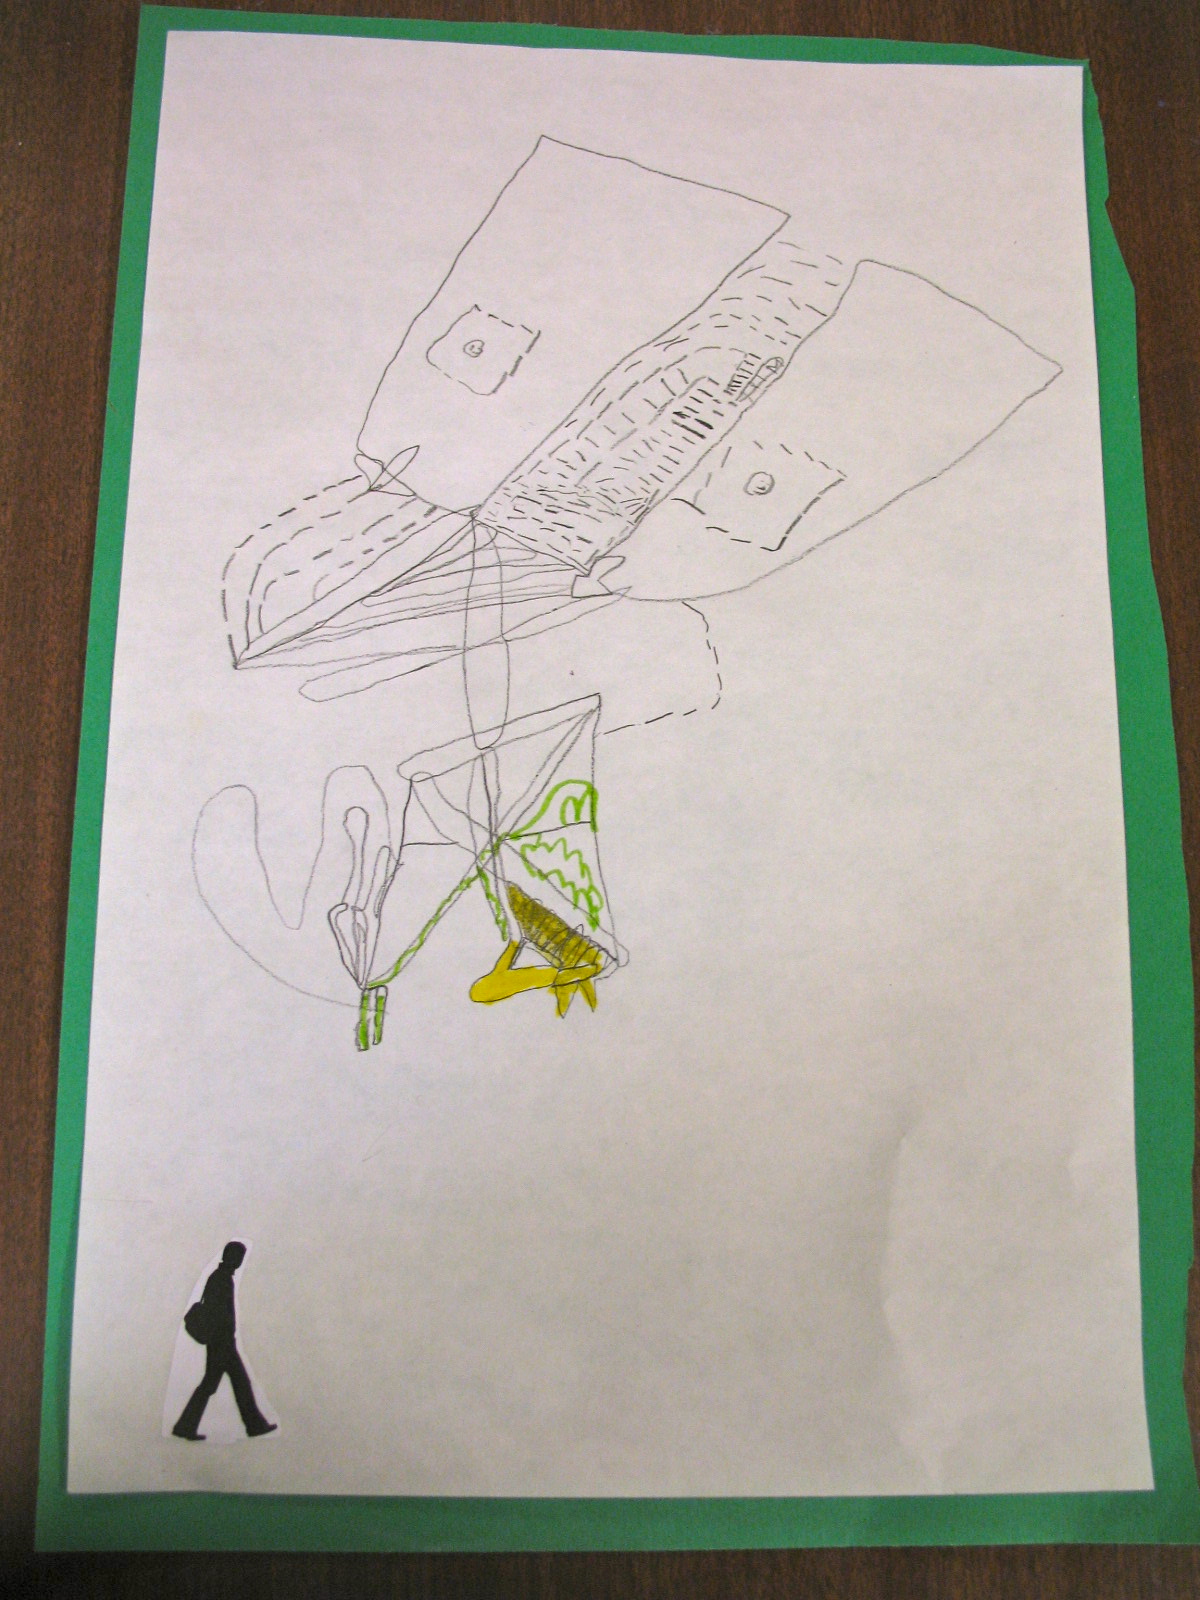
| Look at the long legs on this person/robot! |
Through the making of this project, students learned about what it means to attach, and how sculptors attach and build using many different materials. They learned that some forms of attachment work better than others when using certain materials. Students also learned that sculptures have "bones" that are the supporting structure, and "skin" that gives the sculptures color and texture.


When we did move on to attaching "skin"(texture and color) to the sculptures, students accessed those materials as well, choosing from a variety of things in containers that were above the building materials.

As a class, we discussed all of the wonderful things around the classroom you can use for skin. You can use drawing materials, fabrics, tissue paper, buttons, feathers and more. The kids took advantage of all of these resources, and did so with a discerning eye, as they figured out how to express their idea and transform their recycled plastic or cardboard cylinder into something else entirely.
I really encouraged the kids to cover up all of their tape and cardboard with skin, so that it would look finished, and so they could keep the mystery as to how they built it.
As a last step, parents helped hot glue the sculptures to cardboard bases.
 |
| This particular one has a lot going on the more you look! |

 |
| We heart googly eyes! |
 |
| The Kindergarten student who made this horses neck, did so originally out of tin foil, and later on adding the brown tissue paper as skin. She used sewing with pipe cleaners as a form of attachment. |


 |
| Tin foil helped robots look like robots. Note: some things did need to be hot glued on with the help of an adult! |
 |
| This student added extra details and color to her base, to further express her idea. |


As you can see the kids did a wonderful job of completely transforming a recycled form into a new and exciting sculpture.


A very special thank you to all of those parent volunteers who helped the students express their idea and be independent in the studio, as they manned the glue gun and helped students to problem-solve. Also, thank you to Kitty Conde who gave me the idea and suggestions for this project.