As their last project for the year, students in 4th Grade created sculptures that were based on geometric forms and architecture.

First in order to begin thinking about architecture and public sculpture, I showed the students several slide shows of how sculptors and architects use drawing and collage to sketch out and play with ideas.
Next, I xeroxed drawn forms, as well as pieces of architectural structures such as domes, arches and columns. Students then added to and combined different aspects of the xeroxes, in order to create an idea sketch for a new building or public sculpture.


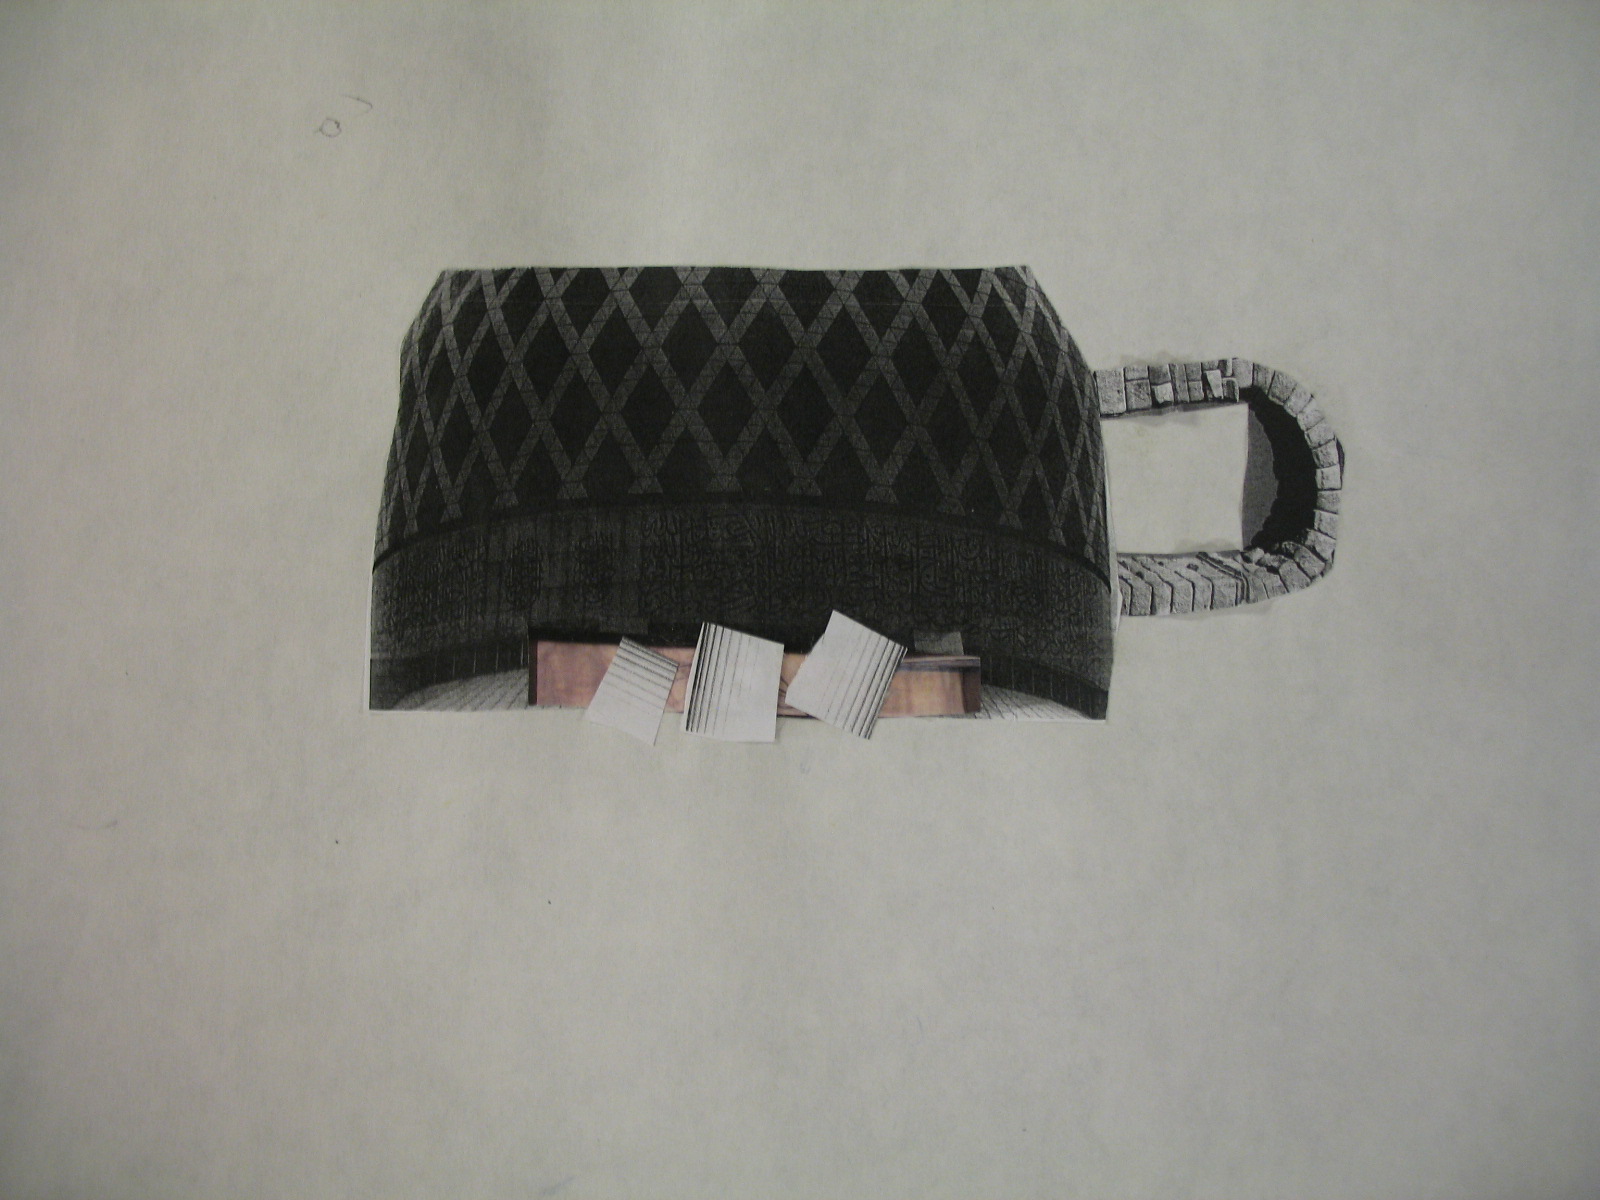 |
| This student's idea and building design is based off of the form of a mug. He combined a dome and an arch, and cut up some columns as well. |
Next, students chose one of their sketches to base their sculpture off of, and began building using cereal boxes and found forms such as paper towel tubes. They also had to include at least one geometric form (cube, pyramid, cylinder, or rectangular prism), which was built using a net. They traced this net and created their form, getting practice that helps reinforce concepts on the ISAT math test.


After building all of their forms and joining them with masking tape, students were taught about paper mache, and how it is a great permanent attachment tool.
Students added paper mache (glue+paper pieces) to secure the places where two forms connected.


 |
| You can see how this student utilized many found forms. |


Next, the students and I talked about how architects need to really sell their idea to contractors and the public, before it can be realized. In order to do this, they add "skin" to the models they have created, to give their audience an idea of the colors, textures, and building materials, that will appear on the building.
Students had access to acrylic paint (painting station), as well as many other materials in the sculpture studio, which they selected to show what textures and colors they wanted on their public sculpture/building.
I forced all of the students to apply a base coat of paint to their sculpture, before gluing on extra materials such as paper, feathers or fabric. In this way, the cereal box labels were covered up, and the overall craftsmanship was better.
 | |
I would love to see this sculpture larger than human size, downtown in Grant Park!  |

 |
| I like how this student used the rubbing (texture) plates we had in an innovative way. They embossed tin foil which was not a demonstrated technique. Yay for coming up with your own solutions! |

In the end, I think most students chose the materials they did for "skin" because they looked interesting or pretty, and not because these were real textures they would want on a building.
However, the resulting sculptures were pretty interesting and for the most part, the students liked their sculptures and were motivated to finish them.
It was also interesting for both the students and myself to see how their sculpture changed and morphed from their original design/collage. This mainly happened because the students discovered that some things were too difficult to construct or attach in the time we had.
 |
| This student added cardboard people to show a sense of scale and building usage. |


 |
| Brody's sculpture before adding paint and "skin" |
 |
| This student used paint, wall paper, feathers and ribbon for skin. I really like the novel use of straws as walls. |
No comments:
Post a Comment